How to Encrypt a Flash Drive – Easy Step-by-Step Guide
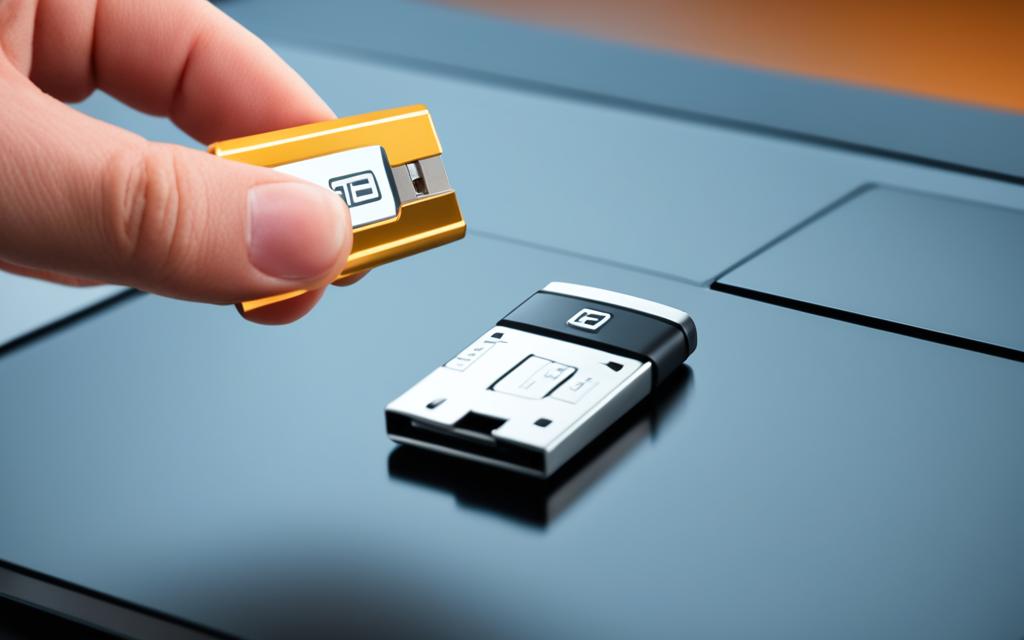
Flash drives are small and can easily get lost. Encrypting your flash drive keeps your data safe if it goes missing. An encrypted flash drive is like a USB flash drive but you need a password to see its files. This password stops others from reading what’s inside. It’s a smart way to keep your data safe from hackers or if your drive is lost.
Encryption keeps your info secret, even if your flash drive falls into the wrong hands. With encryption, only you can see your files, making sure they stay private. It’s an important step in protecting your data from being seen by others.
Introduction to Encrypted Flash Drives
In the digital age, keeping our data safe is crucial. Encrypting flash drives is key to this. An encrypted flash drive is a device that keeps your files safe. It does this by needing a password to access them. This way, even if it’s lost, your info is still protected.
What is an Encrypted Flash Drive?
Imagine a USB but smarter and more secure. An encrypted flash drive uses special math to lock up your files. It needs a secret password to let you see what’s inside. This keeps your data away from anyone who shouldn’t have it.
This level of protection is very important. It guards your data from online threats. These could be attacks from hackers, viruses, or other harmful software. It’s like having a powerful shield around your information.
Importance of Encrypting Flash Drives
Protecting your flash drive is vital for your privacy. Encrypting it stops others from peeking at your files. This is especially key if your flash drive ever gets lost or stolen.
Encrypted drives also keep your computer safe from viruses. This is because malware can’t easily attach to it. So, you can use your flash drive without fear. Its security keeps you one step ahead of digital dangers.
how to encrypt a flash drive
Encrypting your flash drive gives you important security advantages.
It adds a strong layer of defense against cyber threats. Encrypted drives are safe from picking up or spreading viruses. This is as long as you don’t put infected files on them. On the flip side, drives without encryption can easily become carriers of malware. They can move viruses from one machine to another, risking the infection of multiple devices.
Benefits of Encryption
Encryption safeguards your files from unauthorized viewers. Even if someone plugs your drive into their computer, they can’t access what’s encrypted. This includes family and friends. Plus, encryption means you can safely carry your flash drive anywhere. If it’s lost or stolen, your data is still secure.
Risks of Unencrypted Flash Drives
Not encrypting a drive leaves your data open to theft and misuse. Without this protection, anyone could get to your private files. There’s also the danger of spreading malware to other devices. Connecting an unencrypted drive to a computer could infect it with a virus. This is a risk you definitely want to avoid.
Encrypting a Flash Drive on Windows
Windows has a tool called BitLocker for encrypting flash drives. Encrypted flash drives keep your data safe if they’re lost or stolen. This way, your important files are protected from being seen by others.
Using BitLocker for Encryption
Here’s how to encrypt a flash drive with BitLocker on your Windows computer:
- Plug in your flash drive to the computer.
- Go to Control Panel, then BitLocker Drive Encryption.
- Find your flash drive and click “Turn on BitLocker”.
- Pick a strong password for the drive’s security.
- Choose your encryption mode, like AES-256.
- Follow the steps on the screen to finish encrypting.
Choosing an Encryption Mode
BitLocker lets you choose an encryption mode for your flash drive. Options include:
- AES-128: Offers good security and speed.
- AES-256: Stronger protection but might be a bit slower.
- XTS-AES-128 and XTS-AES-256: Better for certain attacks.
For most needs, AES-256 is a highly-recommended choice. It balances excellent security with good performance.
Storing the Recovery Key
BitLocker will ask you to save a recovery key after you encrypt the drive. This key is crucial if you forget your password. Keep it safe by putting it in a password manager or on paper. This ensures you’ll always be able to get back into your data.
Encrypting a Flash Drive on macOS
Mac users can easily add security to their flash drives. They can use the built-in Disk Utility app for this. It protects the data on the drive. And if the drive is lost or stolen, your information is still safe.
Formatting and Encrypting with Disk Utility
Encrypting a flash drive on a Mac starts by formatting it with Disk Utility. After you format it, you can turn on encryption. Then, you just need to choose a strong password to keep your files safe. Here is a simple guide:
- Connect your flash drive to your Mac.
- Open Disk Utility from the Utilities folder or by searching for it in Spotlight.
- Select your flash drive from the left-hand sidebar.
- Click the “Erase” button in the Disk Utility toolbar.
- Choose a descriptive name for your flash drive and select “Mac OS Extended (Journaled, Encrypted)” as the format.
- Click “Erase” to format the drive and enable encryption.
- When prompted, enter a strong password to protect your flash drive’s contents.
Setting a Strong Password
Picking a strong password is very important. Don’t use easy-to-guess info. Use a long, hard-to-crack password. Include upper and lower case letters, numbers, and symbols. A password manager can help with this.
By encrypting your flash drive, you keep your data secure, even if it’s lost. This is an important step to protect your files. It gives peace of mind, especially when you move or share private info.
Third-Party Encryption Tools
Windows and macOS have their own encryption tools. But, some people prefer using third-party programs for more features. VeraCrypt is a top choice. It’s free, open-source, and lets you pick how to secure your data.
VeraCrypt for Advanced Encryption
Need more security than your computer’s basic encryption? VeraCrypt steps in. It lets you lock down your files with strong protection. You can even hide one encrypted area inside another. This keeps your most sensitive data extra safe. VeraCrypt is flexible, supporting many encryption types, like AES and Serpent.
What makes VeraCrypt great for advanced flash drive encryption? It doesn’t just secure your files, it also hides them. With special settings, you can make a secret storage space. Anyone looking at your drive won’t see these hidden files without the secret key.
But wait, there’s more with VeraCrypt encryption. You can make a secure “vault” for your files. Think of it as a locked box for your digital documents. This feature is perfect for keeping your secrets safe, whether on a flash drive or another portable device.
VeraCrypt is a top pick for third-party encryption tools. It’s designed for users wanting a higher level of security. It’s ideal for anyone needing to keep important information secure, especially on the go.

Accessing Encrypted Flash Drives
After you’ve encrypted your flash drive, you’ll want to know how to access its content. The steps vary depending on whether you’re using a Windows or macOS computer.
Entering the Encryption Password
To open an encrypted flash drive, you must input the right encryption password. If you’re on Windows, open File Explorer to your drive. Then, type in the password you chose. On macOS, after linking the drive, enter its password when asked.
Compatibility Considerations
Choosing the right encryption is key for universal access. Consider BitLocker for versatile use, especially across Windows platforms. Always keep in mind the devices and systems you’ll work with to ensure smooth accessing encrypted flash drives. This will help with entering encryption password steps, too.
Knowing how to deal with flash drive encryption compatibility and password usage lets you easily use your safe storage. You can work on various computers, keeping your important info safe anywhere.
Decrypting and Removing Encryption
Need to read files from an encrypted flash drive on a different computer? Or, do you want to remove the encryption? We can help. We decrypt the drive to take off the password protection.
Decrypting on Windows
Decrypting with BitLocker on Windows is easy. First, connect the encrypted drive. Then, open File Explorer. Right-click the drive and pick “Unlock Drive”. Enter your drive’s password. BitLocker will then decrypt the files so you can use them without a password.
Decrypting on macOS
Decrypting on a Mac is just as simple. Connect the drive and you’ll be asked to enter the password. Put in the right password, and your drive will be ready to use. You can get to your files just like normal.
No matter if you’re using Windows or macOS, decrypting removes the encryption. Your files then become fully open. This method is great if you don’t need the high security anymore. But remember, if security is still very important, it’s better to keep the drive encrypted.
Pros and Cons of Encrypting Flash Drives
Encrypting your flash drive means your data is safer, but it has some downsides too. Here are the main points to think about:
| Benefits of Encrypted Flash Drives | Drawbacks of Encrypted Flash Drives |
|---|---|
|
|
Whether encrypting your flash drive is good for you depends on what you need and want. Those who care about keeping their data very safe often think the good things about encryption are more important than the bad. But, everyone should think about both sides and pick what’s best for them.
Encryption Alternatives
Encrypting your flash drive is great for keeping data safe. But, there are other ways to protect your files. Consider these encryption alternatives:
Cloud Storage Solutions
Services like Google Drive, Dropbox, and Microsoft OneDrive encrypt your files for you. This means your data is secure in the cloud. You can reach your files from any device. Plus, these platforms are known for their strong security. So, you know your information is in safe hands without needing to do extra work.
Hardware-Encrypted Flash Drives
A hardware-encrypted flash drive is another choice. These USB drives have encryption already in place. They use very strong AES 256-bit encryption, like that used in the military. This means your files are safe without you needing to do anything. You just need to put in the password to see your files.
Best Practices for Secure Data Transfer
Encrypting your flash drive is key to keeping data secure. But there’s more we can do for better data security. Using antivirus software along with encryption and a VPN adds extra layers of protection. This way, we guard against cyber threats well.
Combining Encryption with Antivirus Software
Encrypting your flash drive is a great start for data safety. However, adding antivirus software is vital too. It helps spot and remove malware in your encrypted drive. With both encryption and antivirus, the chance of data leaks drops significantly.
Using a VPN for Added Security
For an even safer data transfer, a VPN is a smart move. It forms a secure, encrypted path from your device to the web. This protects your data privacy, especially when using public Wi-Fi. Your IP address stays hidden and your data’s encrypted, making sure your information is safe.
Conclusion
Encrypting your flash drive is an easy and strong way to keep your private files safe. You can do this with your computer’s built-in tools or a special program. Either way, you add an important layer of protection to your files.
By securing your flash drive, even if you lose it, your personal and work files are safe. It keeps your sensitive information from being seen by those with bad intentions. This little step can protect what’s important to you.
Looking at the benefits of flash drive encryption, it’s clear this is just the start. You can make your data even safer by using antivirus and a VPN. This combo is a great way to protect your info both at home and when you’re out.